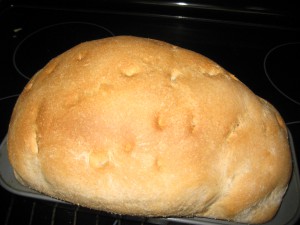
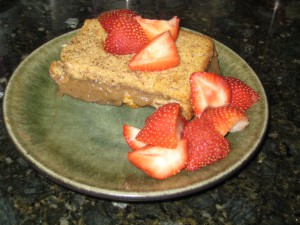
(Typically I post non-writing topics on Saturday and blog about writing during the week, but this week I decided to change it up a bit… hope you don’t mind. ~R)
Mmm, bread. I make bread every Sunday morning, fresh and from scratch. The whole process takes less than three hours, with hands on time of roughly 25 minutes. It’s an amazingly refreshing process. Unlike cooking a complex meal or the chemistry of baking making bread feels… earthy, wholesome. It’s a hands on experience, and the taste of fresh bread can’t be beat. Homemade bread is also wicked cheap compared to the stuff you buy in the store, not to mention better for you. I’ve never met anyone who fills their homemade bread with things like High Fructose Corn Syrup. So in short, if you aren’t making your own bread, you’re seriously missing out.
On to the bread!
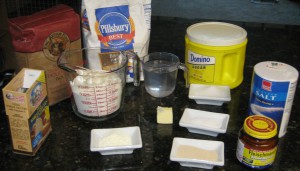
I use a very basic recipe:
1 ¼ cup water – 75’ to 85’, that’s slightly warm. You see your body is 98’ (vampire, werewolf, and assorted supernatural other readers use a thermometer), so if you drop some of the water on your wrist it should feel warm to almost cool but not hot. You wouldn’t hesitate to put your whole hand in 80’ water. This is important because hot water can kill yeast and your bread will be a brick. Don’t ask me how I know. Okay, I know because I’ve done it. Lots. Bricks aren’t tasty.
1 tbsp butter softened
2 tbsp white sugar
1 tbsp milk powder
1 ½ tsp salt
1.5 cups white bread flour
1.5 cups whole wheat flour
1 tbsp vital wheat gluten (Vital Wheat Gluten is sold in the flour aisle of most grocery stores. If you can’t find it just go with all white flour, and reduce the water to 1 cup + 2 tbsps)
2 ½ tsp room temperature yeast
High tech instructions:
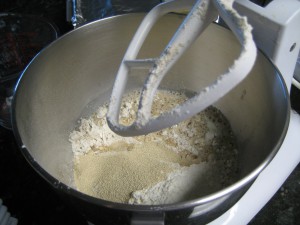
Put all of the above into your mixer:
Mix on low until it is mixed.
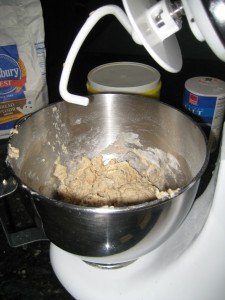
Switch to the dough hook (if you have one), put the mixer back on low, and walk away for 10 minutes.
At the 10 minute mark, come back and turn off the mixer. Walk away again, this time for 20 minutes.
Come back and put the mixer on medium. Walk away for 15 minutes.
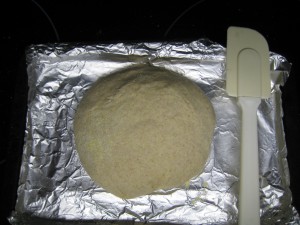
Come back and turn off the mixer. Put the bread into the pan you’re using, or shape it to your liking then walk away for 20 minutes.
(This week’s bread will be a circle, because, quite frankly, I’m feeling too lazy to wash a loaf pan. That’s the same reason why the pan I’m using has tin foil on it. Tin foil means I don’t have to wash anything. It’s magical that way.)
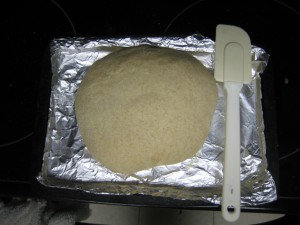
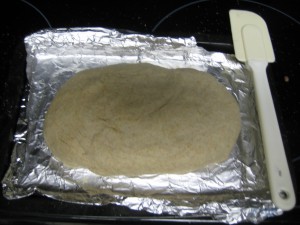
Come back. and ‘punch down’ the bread, pressing it to release the air. This is also the time to reshape the bread if you’ve decided you don’t like the shape.
Pre-punching down:
Post punching down:
Walk away again, this time for 55 minutes or until the bread is as big as you’d like it to be.
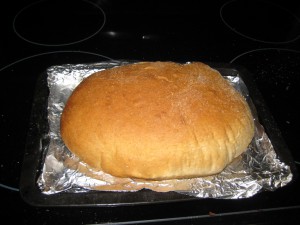
Pop it in a 350’ oven for 50 minutes, or until the crust is the color you like.
Low tech instructions:
(No, I’m not giving you photos of the low tech instructions. I have writing to get to.)
Put all of the above in a bowl, mix with a wooden spoon until the mixture is sticky.
Coat your hands with flour. Lots of it.
Now coat the counter with flour. Lots of it.
Knead the dough, squishing, rolling, folding, thumping, and generally abusing it for 10 minutes.
Let the dough rest and rise for 20 minutes.
Knead again, this time keeping the abuse up for 15 minutes.
Shape the bread, or put into the bread pan.
Allow to rise for 20 minutes.
Punch the bread down, pressing it to release the air.
Allow 55 minutes for a final rise, stopping the process when the bread reaches the right size for you.
Bake at 350’ for 50 minutes or until crust reaches a nice golden brown color you like.
Either way, it’s a lot of walking away. The timeline looks like this:
0:00 mix ingredients, knead for 10 minutes
0:10 let bread rise for 20 minutes
0:30 knead for 15 minutes
0:45 let bread rise for 20 minutes
1:05 press the bread down, careful not to make a dippy pattern
1:05:30 let bread rise for 55 minutes, or until it’s big enough for you
2:00 pop bread into a 350’ oven to bake
2:50 take bread out to cool
2:52 – burn fingers/mouth eating hot bread
3:00 bread is ready to enjoy!
A few notes:
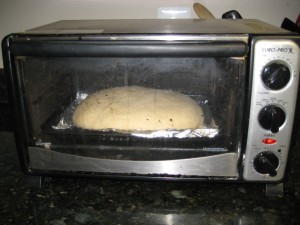
I bake my bread in a toaster oven. It saves on energy. Also, I’m from Florida. We don’t heat up the whole house with baking in the summer months. Here’s my toaster oven/bread set up:
(Yes, my toaster oven is messy. I promise I’m a better at writing than at cleaning.)
You can shape the bread, braid it, or handle it as much as you like before the final rise. After the final rise, be gentle with it. The bread might not recover its shape.
Punch down the dough using your fist or the flat of your palm, don’t poke it repeatedly with your fingers unless you want pock marks, like this:
Baking bread always makes me feel connected along the mother-line. Women have made bread using flour, water, and yeast for centuries. I’m glad to join them.
